So here's the promised step by step tag from yesterday.
Materials
Dylusions stamps...Bird on a wire, Further Around the Edge, Basic Backgrounds, Dependable Dotty, Pondering Petunia, Say what You Mean.
Manila card
Distress stains...Barn Door, Broken China, Mustard Seed, Crushed Olive, Peeled Paint, Dried Marmalade.
Archival inks...Venetian, Aquamarine, Vermillion, Jet Black
Perfect Pearl Mist...Sour Apple
Stormy Sky Distress Ink
Blending tool
Tim Holtz ruler ribbon
Tim Holtz tiny attacher
white Posca paint marker
Non stick Craft Sheet
Craft Scraper
white card
Method
I started with 2 pieces of Manila card. frikkin love this stuff, it is my fave stuff to work on. My tag is extra large. These pieces are 6 x 81/4 in
When using the stains I always like to have spritzed the card with a little water first, as I prefer a blended effect. Always work on a Non Stick Craft Sheet.
The Distress stains are really fluid, concentrated dye ink, and so the colour doesn't dilute, but stays true. Press the bottle down onto the surface to release the ink,
Add the other colours. Don't worry about going over previous colours , the tops will clean.
Spritz over a little more water and tip the card up so that the inks blend into one another.
Take the 2nd piece of Manila and place over the first. Press down firmly to mop up all excess ink.
Both pieces of Manila will now be dyed.
Take kitchen roll and roll over the top to blot dry.
The non stick craft sheet will have the remains of any ink squeezed out.
Gently pick up a tag and press it into the ink. Dry with a heat gun and repeat as necessary, to build up the layers.
You can also add extra colour using your fingers to blend.
When everything is bone dry add a line of ink across one edge of the tag.
Immediately take a craft scraper and drag the ink down the tag.
Repeat at the opposite end with another colour.
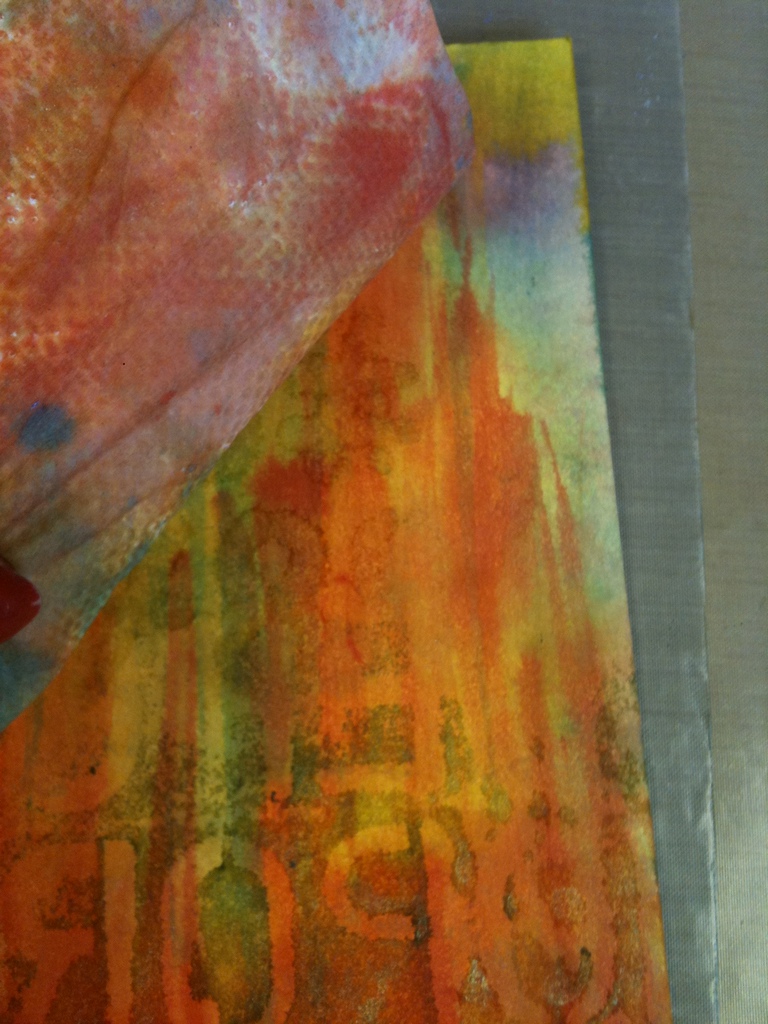
Your tags should look something like this.
These are the colours I used in the background...Mustard Seed, Barn Door and Broken China.
Make sure everything is bone dry.
Take the Perfect Pearl Mist in Sour Apple and give it a really good shake to mix in the mica particles.
Spray lightly through a stencil.
Flip the stencil over and press to use up the excess ink, and form a reverse stencil.
At first you may not see much, as it is very subtle, but the shimmer will start to appear as it starts to dry.
Roll the kitchen roll over the tag to blot any excess.
The beauty of the Pearl Mists is that the colour is only from the mica particles and not from the solution. Most Mica sprays are suspended in a solution that is includes a dye ink. This will alter the colour of whatever you spray on. But with the Pearl Mists the background colour will always stay the same and just leave a shimmer.
Place both tags together and cut off a corner of both tags.
Turn one of the tags around and use the outline to shape the other side of the tag.
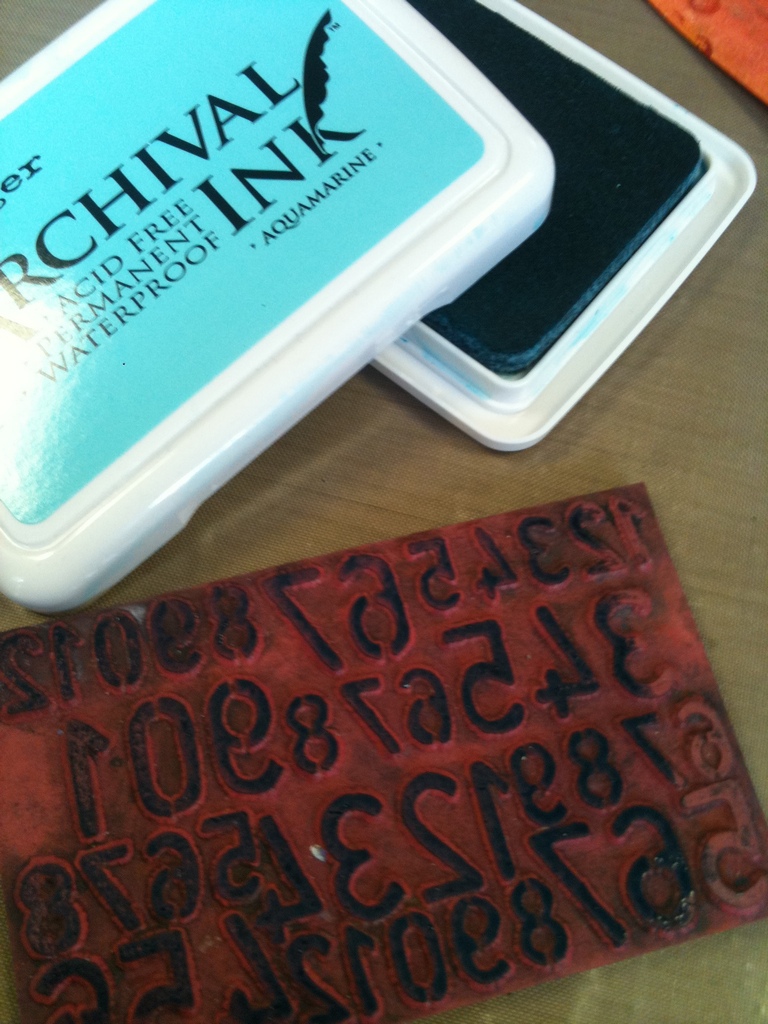
To add more layers I then used the new colours of Archival inks
and my Basic Backgrounds stamps.
Ink up the stamp a little unevenly
I designed these particular stamps not to be used with an acrylic block, just on their own. roll the stamp slightly and add to the tag.
This way you will get a slightly different image every time you stamp.
Add it to the tag randomly.
Repeat with the number stamp in a different colour ink.
Take the leaf border stamp
and ink with the Jet Black Archival ink
Stamp onto one of the tags.
Repeat as below
Take the border stamp and ink with Jet Black.
Stamp around the edge of the tag between the leaves. Stamp all around the edge of the other tag.
Stick both tags together with double sided tape. Take a black pen and draw a curved line at the top of the tag.
Take the birds from Bird on a Wire, and ink with Jet Black ink.
Stamp along the drawn line
Ink up the blending tool with Stormy Sky Distress ink
and apply to all the edges of the tag, front and back.
Stamp all the images as below, with black archival ink onto white card.
The Distress stains are fabulous for colouring in all your stamped images. Press each colour down lightly onto the non stick craft sheet to leave a little puddle of stain.
Add a puddle of water and wet your brush.
Dip into the puddle of stain and paint in your images.
I find it best to paint in everything in one colour before moving onto the next. This ensures that all the colours are dry and therefore won't bleed into each other.
Continue with all the other colours of Distress.
Colour in the leaves on the back of the tag.
Whilst the stain is still wet add a drop of the red onto the base of each leaf. Because they are still wet they will blend together beautifully.
These are the colours of Distress stains I used for painting the images.
Cut the images out and add them to the tag, as below.
Cut off approx 3in of the Ruler Ribbon.
and add to the top of the tag with the tiny attacher.
Add highlights to the top of each leaf with the white Posca paint marker.
This is the reverse of the tag.
and this is the front.
I hope this step by step has inspired you to have a go yourselves. If so please send me some photos of your tags,I would love to see them.
If you would like to own the actual tag from this step by step, then please leave me a comment on this post and I will draw a name at random. I have already signed it and will add your name at the top.
And on to Daily Outfit.
I have to say a big shout out to the gorgeous Anne Marie who has been so inspired by daily outfit, that she is transforming the way she dresses, and turned up for class today wearing a bright circle skirt that she had made herself. Way to go girlie, you looked frikkin gorgeous.
As I posed for today's pictures I didn't realise that I had little intruder with me.
Ha ha the little monkey.!!!
When I told her she had to pose for a picture for you all this was her reply, lol...!!!
Don't think she quite has the idea..!!!
Enjoy and don't forget to leave a comment if you want to be in with a chance of the tag. xx